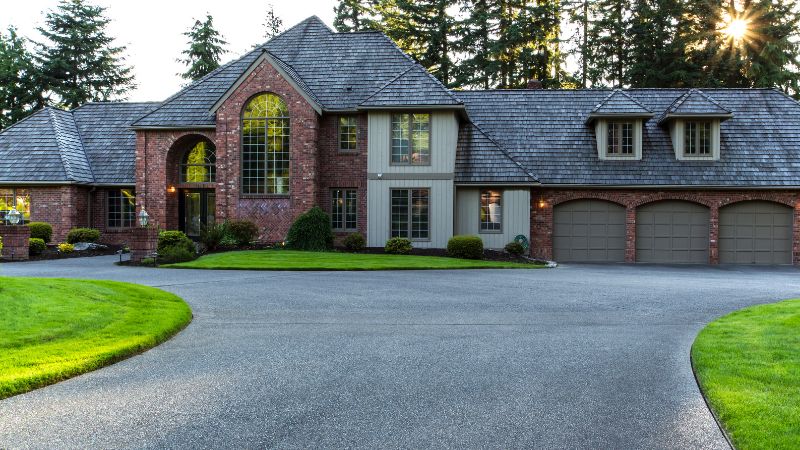
Asphalt paving is a popular choice for residential driveways due to its durability, cost-effectiveness, and sleek appearance. Whether you’re tackling a DIY project or hiring professionals, understanding key tips and tricks can make all the difference in the longevity and quality of your asphalt surface. This guide covers eight essential residential asphalt paving tips and tricks to ensure your project succeeds. From selecting the right materials to proper maintenance practices, these insights will help you achieve a smooth, long-lasting driveway that enhances your home’s curb appeal and stands up to the elements.
8 Residential Asphalt Paving Tips And Tricks
Proper Planning and Design

Proper planning and design are crucial before you even start laying down asphalt. Begin by evaluating the area that will be paved. Measure the dimensions accurately and determine the thickness required for the asphalt layer, considering factors like the weight of vehicles that will use the driveway. Design a layout that includes appropriate drainage systems to prevent water pooling, which can damage the asphalt over time.
Additionally, plan for the slope of the driveway; a slight slope ensures water runoff, protecting the surface from erosion and extending its lifespan. Incorporating curves and edges into the design can enhance the aesthetic appeal while also serving practical purposes, such as directing water flow and providing structural support to the edges of the driveway.
Also Read:- Tips To Make Your Asphalt Driveway Last Longer
Choosing Quality Materials
Selecting high-quality materials is essential for a durable and long-lasting asphalt driveway. Opt for high-grade asphalt that can withstand varying weather conditions and heavy usage. Consider using recycled asphalt pavement (RAP), which is not only environmentally friendly but also cost-effective and durable. The choice of aggregate is also important; ensure the gravel or crushed stone used as a base is clean, angular, and of the appropriate size to provide a solid foundation. Furthermore, the binding agents should be of high quality to ensure the asphalt mixture remains cohesive and resistant to cracking. Investing in superior materials may have a higher initial cost, but it will save you money in the long run by reducing maintenance and repair needs.
Preparing the Site
Site preparation is a critical step that can make or break your asphalt paving project. Start by clearing the area of any vegetation, debris, and old pavement. Excavate the site to the required depth, ensuring the subgrade is stable and compact. This may involve removing unsuitable soil and replacing it with a more stable material, such as crushed stone or gravel, which should be compacted to create a solid base. Install edging along the perimeter to provide structural support and prevent the asphalt from spreading or cracking at the edges. Properly compacting the base material is essential; it should be done in layers using a vibratory plate compactor to achieve maximum density and stability.
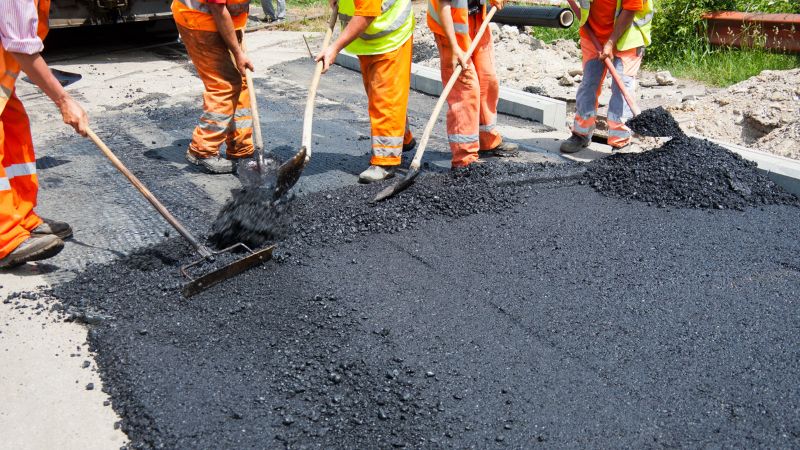
Applying the Right Thickness
The thickness of the asphalt layer significantly impacts the durability and performance of your driveway. For residential driveways, a thickness of 2 to 3 inches of compacted asphalt is generally recommended. However, if the driveway will be used by heavy vehicles, a thicker layer may be necessary to prevent premature damage. The asphalt should be laid in layers, with each layer being compacted thoroughly before adding the next. This process ensures that the asphalt bonds properly and creates a solid, uniform surface. Pay attention to the edges, as these are prone to damage; adding extra thickness at the edges can provide additional support and prevent crumbling.
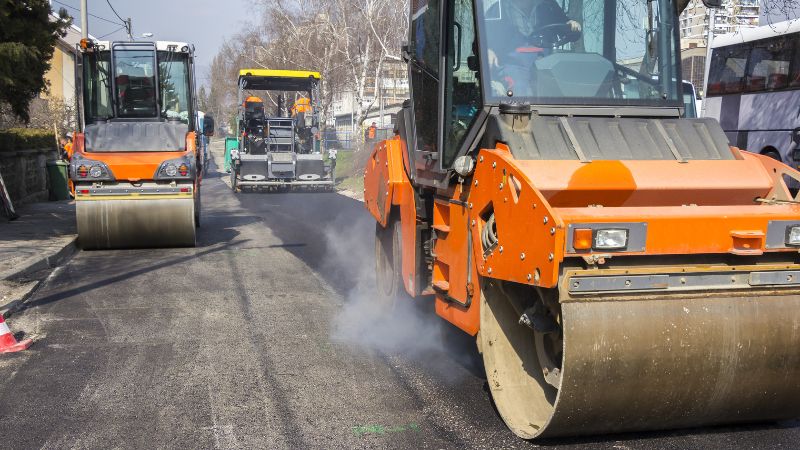
Ensuring Proper Compaction
Proper compaction is vital for the longevity and durability of your asphalt driveway. Use a vibratory plate compactor or roller to compact the base material and each layer of asphalt. Compaction removes air voids, which can weaken the structure and lead to cracks and potholes. Begin by compacting the edges and then work your way towards the center, overlapping each pass to ensure uniform density. Pay special attention to areas that are prone to higher stress, such as corners and edges, and ensure they are compacted thoroughly. Proper compaction not only improves the strength and durability of the asphalt but also enhances its resistance to water infiltration and environmental damage.
Allowing for Adequate Curing Time
Allowing the asphalt to cure properly is essential for achieving maximum strength and durability. After the asphalt is laid and compacted, it needs time to cool and harden. Typically, you should wait at least 24 to 48 hours before allowing light traffic on the driveway, and up to a week before heavy vehicles are permitted. During this curing period, avoid any activities that could damage the surface, such as turning wheels sharply or placing heavy objects on the asphalt. Proper curing allows the asphalt to achieve its full strength and durability, ensuring it can withstand the stresses of daily use and varying weather conditions.
Implementing Regular Maintenance
Regular maintenance is key to prolonging the life of your asphalt driveway. Conduct routine inspections to identify and address any cracks, potholes, or other damage early on. Sealcoating the asphalt every 2 to 3 years helps protect it from UV rays, water, and chemicals that can cause deterioration. Remove any weeds or vegetation growing through cracks, as they can widen the damage. Clean the surface regularly to remove debris and prevent staining from oil or other substances. Additionally, ensure proper drainage around the driveway to prevent water from pooling and causing damage. Implementing these maintenance practices will keep your asphalt driveway looking new and performing well for many years.
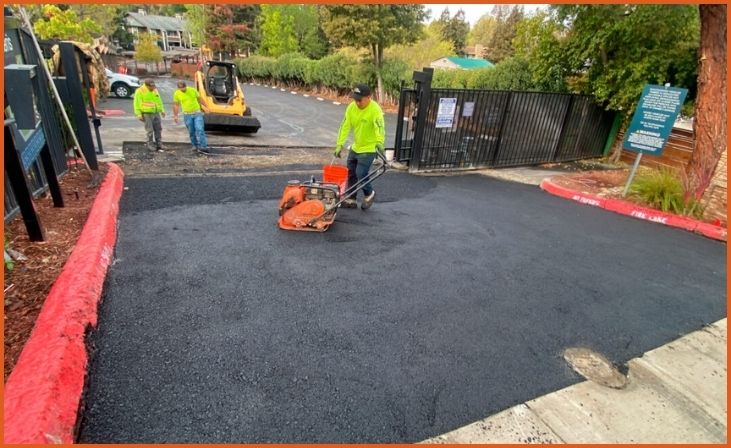
Hiring Professional Help
While DIY asphalt paving can be a cost-effective option, hiring professional help ensures a higher quality and longer-lasting result. Professionals have the expertise, equipment, and materials needed to complete the job efficiently and correctly. They can also provide valuable advice on design, material selection, and maintenance. When choosing a contractor, look for a reputable company with positive reviews and experience in residential asphalt paving. Request a detailed quote and ensure they follow industry standards and best practices. Investing in professional services may have a higher upfront cost, but it can save you money in the long run by reducing the need for repairs and extending the lifespan of your driveway.
Also Read:- How To Remove Old Oil Stains From Asphalt
Conclusion
Successfully paving your driveway with asphalt involves more than just laying down a layer of blacktop. By following these eight residential asphalt paving tips and tricks, you can ensure a durable, aesthetically pleasing surface that will serve you well for years to come. Remember, proper preparation, quality materials, and ongoing maintenance are key to a successful asphalt paving project.
FAQs
What is the best time of year for residential asphalt paving?
The best time for residential asphalt paving is during warm weather, typically late spring to early fall, when temperatures range between 50°F and 90°F.
How long should I wait before using my newly paved driveway?
It’s recommended to wait at least 24 to 48 hours before using your newly paved driveway to allow the asphalt to set and harden properly.